I remember the days when a sugar craving hit, and I’d mournfully stare at a bag of marshmallows, knowing they were off-limits. But then, something magical happened – I discovered the world of sugar-free marshmallows! Not those sad, chalky imposters, but real, fluffy, melt-in-your-mouth marshmallows made without a single grain of sugar. Yes, you heard that right! Get ready to have your (sugar-free) cake and eat it too with this amazing recipe for sugar-free marshmallows that are so good, you won’t believe they’re actually good for you.
Why You’ll Fall Head Over Heels for This Recipe
Okay, let’s dive into why these little puffs of sugar-free goodness will become your new obsession. Trust me, these marshmallows are anything but ordinary!
1. They’re a cinch to make! No complicated techniques or fancy equipment required. Just a few simple ingredients you can easily find at the store, a little bit of whisking magic, and you’re on your way to marshmallow bliss.
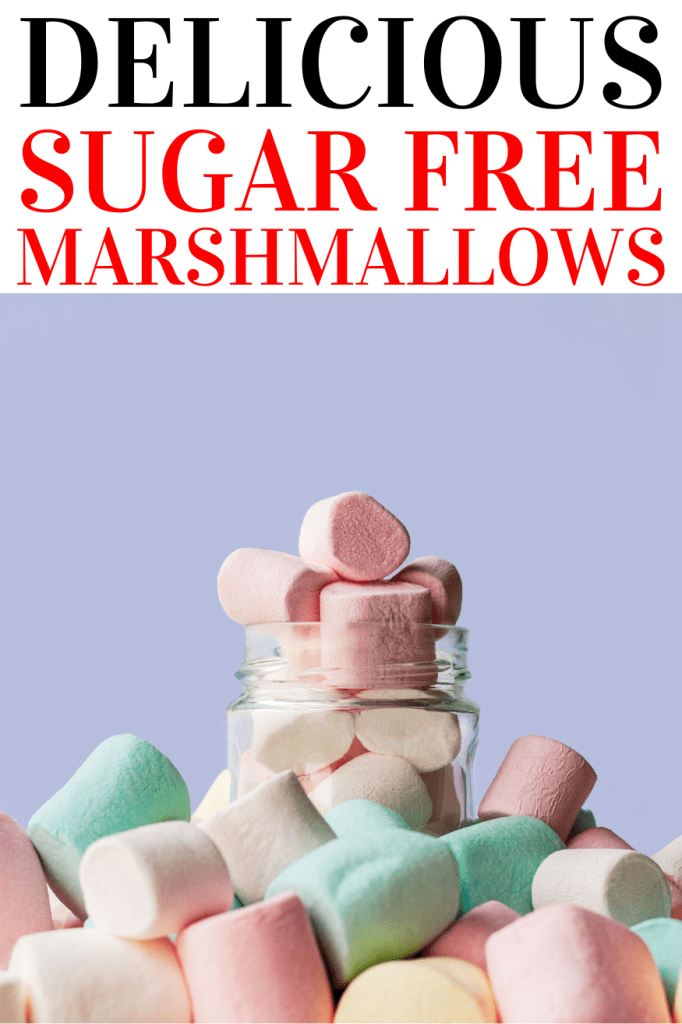
2. Customizable to your heart’s content! Feeling extra sweet? Add a bit more sweetener. Want to switch things up? Swap out the vanilla for almond or peppermint extract. You can even add a pop of color with a few drops of food coloring. These marshmallows are like a blank canvas for your culinary creativity.
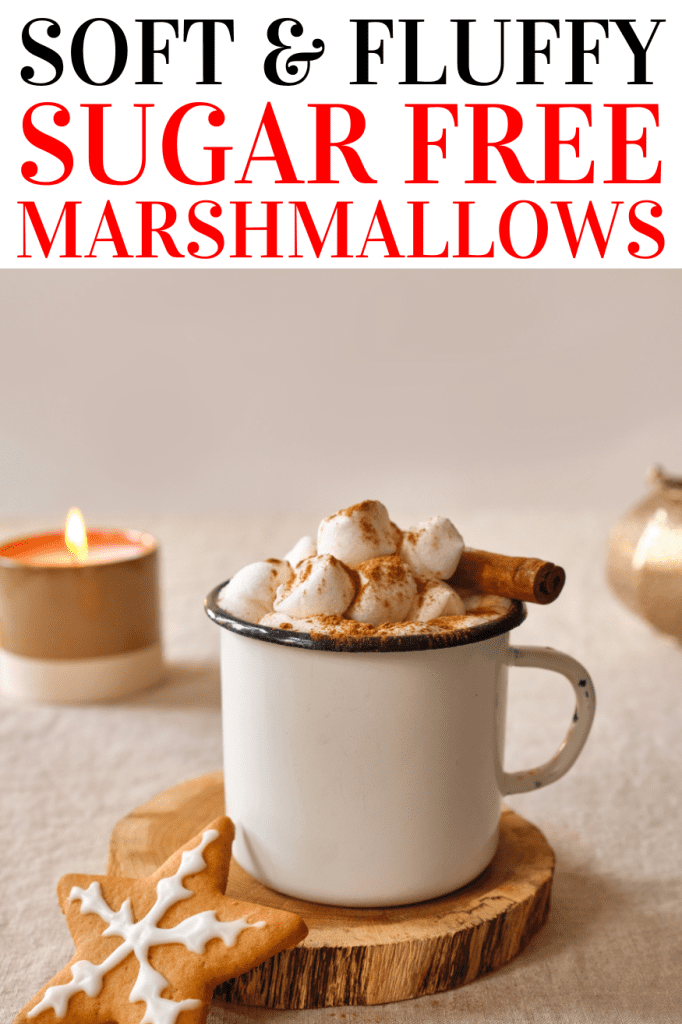
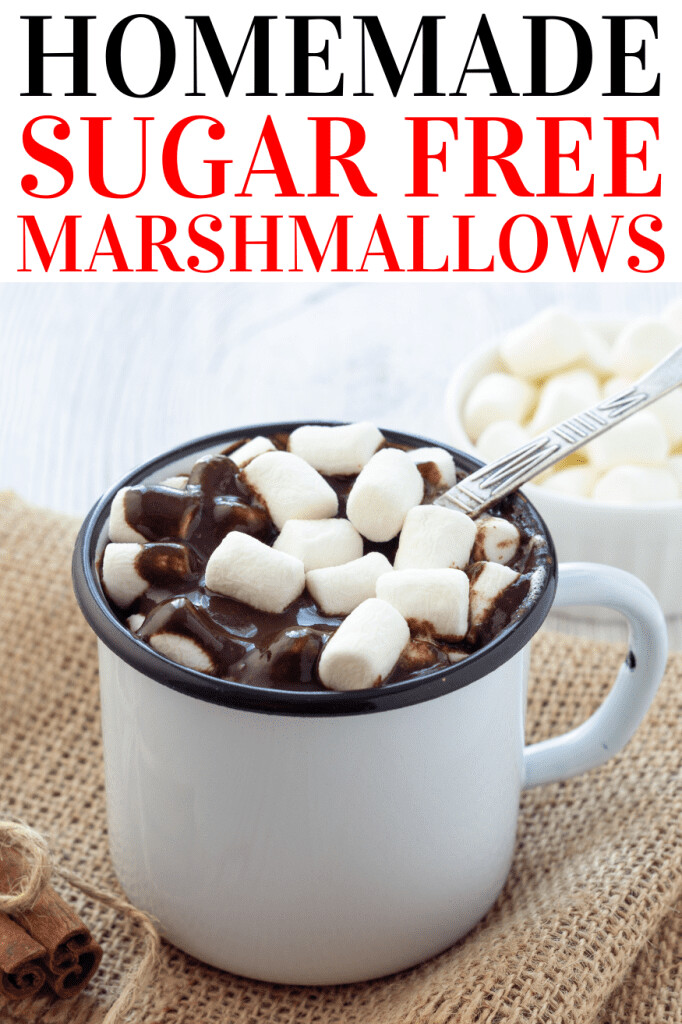
3. They’re the perfect substitute for the sugary stuff. Craving s’mores around the campfire? Want to add some fluff to your hot cocoa? These sugar-free marshmallows have got you covered. They melt, toast, and taste just like the real deal, minus the guilt.
4. Taste test approved! Don’t just take my word for it. My family (who are notoriously picky eaters) couldn’t even tell these were sugar-free. They’re that good!
5. Wholesome and delicious. We’re all about using real, natural ingredients here. No corn syrup, no artificial junk. Plus, they’re naturally gluten-free and low carb, so you can indulge without worrying about your health goals.
So, are you ready to fall head over heels for these pillowy wonders? Get ready to experience marshmallow magic without the sugar crash!
Gather Your Supplies: Ingredients You’ll Need
Alright, before we dive into the fun part (aka making the actual marshmallows), let’s round up our ingredients. Don’t worry, this isn’t a scavenger hunt! We’re keeping it simple and easy to find.
- Gelatin Powder: This is the magic ingredient that gives marshmallows their signature bouncy texture. Make sure you grab unflavored gelatin powder, not the kind with added sugar or flavors. You can usually find it in the baking aisle of your local supermarket.
- Allulose: Now, this is where things get interesting. Allulose is a natural sweetener that tastes just like sugar, but without the calories or blood sugar spike. It’s the key to making these marshmallows taste amazing without any of the guilt. You might have to do a little digging to find it, but it’s worth the effort. Look for it in health food stores or online.
- Water: Yep, good old H₂O is essential for activating the gelatin and creating the marshmallowy fluffiness. Tap water works just fine here.
- Vanilla Extract: This adds a lovely warm flavor and aroma to your marshmallows. If you’re feeling adventurous, you can swap it out for another extract like almond, peppermint, or even coffee!
- Powdered Sugar (Optional): This is purely for decoration, but it adds a lovely touch of sweetness and a professional finish. If you’re following a strict sugar-free diet, you can skip this or use a sugar-free alternative.
And that’s it! Just a handful of ingredients standing between you and a batch of heavenly sugar-free marshmallows. You’ll also need a few basic kitchen tools like a saucepan, a stand mixer (or hand mixer), a rubber spatula, and an 8×8 inch pan. So, gather your supplies, put on your apron, and let’s get started!
Marshmallow Magic: Step-by-Step Guide
Alright, marshmallows in the making! Get ready to witness some kitchen magic as we transform a few simple ingredients into pillowy clouds of goodness. Don’t worry, I’ll guide you through each step, so even if you’re a kitchen newbie, you’ll be whipping up marshmallows like a pro in no time.
Step 1: Prep Your Battlefield (aka Your Pan)
Grab your 8×8 inch pan and line it with parchment paper. This will prevent your marshmallows from sticking and make them easier to cut later. Think of it as setting up a smooth runway for your marshmallow plane to land!
Step 2: Wake Up the Gelatin
In a small bowl, combine half of your water with the gelatin powder. Give it a little stir and let it sit for about 10 minutes. This gives the gelatin time to bloom and become nice and gooey, like a sleepyhead waking up from a nap.
Step 3: Get Things Simmering
In a small saucepan, combine the remaining water and allulose. Place it over medium heat and stir until the allulose dissolves and the mixture starts to simmer. Let it simmer for a few minutes, stirring occasionally. It should thicken slightly, like a light syrup.
Step 4: Whip It Good!
Now for the fun part! Transfer your gelatin mixture to the bowl of your stand mixer (or use a hand mixer). Start on low speed and gradually increase it as you whip. Slowly pour in the hot allulose mixture and add the vanilla extract. Keep whipping until stiff peaks form. This is where the magic happens – your mixture will transform from a liquidy mess into a fluffy, marshmallowy cloud!
Step 5: Chill Out
Gently pour the whipped marshmallow mixture into your prepared pan and smooth it out with a rubber spatula. Now, it’s time for the hardest part – waiting! Pop that pan in the fridge for at least 2 hours, or until the marshmallows are set. I know, patience isn’t always easy, but trust me, it’s worth it.
Step 6: Cut and Enjoy!
Once your marshmallows are firm, use a sharp knife to cut them into squares. If you’re feeling fancy, dust them with a little powdered sugar (or sugar-free alternative). Now, the moment you’ve been waiting for – take a bite and savor the fluffy, sweet, and guilt-free deliciousness!
Important Note: Don’t skip the chilling step! It’s crucial for getting that perfect marshmallow texture.
And there you have it – your very own homemade sugar-free marshmallows! Whether you enjoy them plain, toasted, or as part of a decadent dessert, these little treats are sure to bring a smile to your face (and maybe a little sticky mess to your fingers). So go ahead, indulge in the sweetness without the sugar!
Pro Tips for Marshmallow Perfection
Alright, marshmallow masterminds, let’s take your marshmallow game to the next level! These pro tips will help you achieve pillowy perfection and impress even the most discerning marshmallow connoisseurs.
Stiff Peaks Are Key: When whipping your marshmallow mixture, don’t settle for anything less than stiff peaks. Think of it like whipping cream – you want the peaks to stand tall and proud, not droop sadly. This ensures a fluffy, airy texture that’s essential for marshmallow greatness.
Temperature Matters: The temperature of your allulose syrup is crucial. Make sure it’s hot enough to activate the gelatin and create the right consistency, but not so hot that it cooks the egg whites (if you’re using them). A candy thermometer can be helpful here, but you can also do a visual check – the syrup should be thick and syrupy, not watery.
Don’t Rush the Chill: I know, I know, waiting is the hardest part. But trust me, those two hours in the fridge are essential for your marshmallows to set properly. If you cut them too soon, they’ll be gooey and won’t hold their shape. Patience is a virtue, especially when it comes to marshmallows.
Get Creative with Flavors: Vanilla is a classic choice, but don’t be afraid to experiment! Try adding a pinch of cinnamon for a warm, spicy kick, or a few drops of almond extract for a nutty twist. You can even try using different extracts like peppermint, coffee, or maple for unique flavor combinations.
Add a Pop of Color: Who says marshmallows have to be plain white? Have some fun and add a few drops of food coloring to your mixture. You can create pastel shades for a whimsical touch or go bold with vibrant colors for a festive treat.
Embrace the Imperfections: Remember, homemade marshmallows don’t have to be perfectly uniform. Their rustic charm is part of what makes them special. So, don’t stress if they’re not all the same size or shape.
Have Fun and Experiment: The beauty of making your own marshmallows is that you can customize them to your liking. Don’t be afraid to try new things and see what works best for you. Who knows, you might just discover your new signature marshmallow flavor!
Storing Your Pillowy Delights
Okay, you’ve successfully whipped up a batch of fluffy, sugar-free marshmallow perfection. Now, how do you keep them fresh and delicious so you can enjoy them for days (or even weeks) to come? Don’t worry, storing these little clouds of goodness is easier than you think!
Refrigerator Storage:
Your refrigerator is your marshmallow’s best friend. These aren’t your store-bought, shelf-stable marshmallows. Homemade ones are best kept chilled to maintain their texture and prevent them from becoming sticky or melting.
Here’s the drill:
- Cool Completely: Before storing, make sure your marshmallows are completely cool and set. This usually takes about 2 hours in the fridge.
- Choose Your Container: An airtight container is key to keeping your marshmallows fresh and preventing them from absorbing any unwanted odors from your fridge. A glass container with a tight-fitting lid or a resealable plastic bag works great.
- Separate with Parchment Paper: To prevent your marshmallows from sticking together, place a layer of parchment paper between each layer of marshmallows. This will keep them from turning into one giant marshmallow blob.
- Store in the Fridge: Place your container or bag of marshmallows in the refrigerator. They should stay fresh for up to a month if stored properly.
Freezer Storage:
If you’ve made a big batch or want to save some for later, you can also freeze your sugar-free marshmallows. They’ll last for up to 6 months in the freezer, giving you a sweet treat whenever you need a little pick-me-up.
Here’s how to freeze them:
- Cool and Cut: Make sure your marshmallows are completely cool and cut into squares before freezing.
- Freeze Individually: Place the marshmallows on a baking sheet lined with parchment paper and freeze them for about an hour, or until solid. This will prevent them from sticking together.
- Store in a Freezer-Safe Bag: Transfer the frozen marshmallows to a freezer-safe bag or airtight container. Squeeze out as much air as possible before sealing.
- Thaw Before Using: When you’re ready to enjoy your frozen marshmallows, simply thaw them in the refrigerator overnight. They should be good as new!
Remember, proper storage is key to keeping your sugar-free marshmallows fresh and delicious. So, give them a cozy home in your fridge or freezer, and they’ll be ready whenever you need a sweet treat to brighten your day.
Your Burning Questions Answered
Alright, marshmallow enthusiasts, let’s tackle those burning questions you’ve got bubbling away! After all, knowledge is power, especially when it comes to crafting the perfect sugar-free marshmallow.
1. Are these sugar-free marshmallows okay for people with diabetes?
While these marshmallows are significantly lower in sugar than traditional ones, it’s always best to consult with your doctor or a registered dietitian if you have diabetes. They can provide personalized advice based on your specific needs and health conditions.
2. Can I enjoy these marshmallows on a keto diet?
Absolutely! These fluffy delights are keto-friendly, with very low net carbs per serving. They’re a fantastic way to satisfy your sweet tooth without derailing your keto goals.
3. Can I roast these marshmallows over a campfire?
You bet! These sugar-free marshmallows toast up just like regular marshmallows, creating a gooey, caramelized treat that’s perfect for s’mores or a cozy campfire snack.
4. What if I don’t have a stand mixer?
No worries! A hand mixer will do the trick too. You might need to whip the mixture for a few extra minutes, but you’ll still achieve those glorious stiff peaks.
5. Can I use a different sweetener besides allulose?
While I highly recommend allulose for its taste and texture, you can experiment with other sugar-free sweeteners like monk fruit or erythritol. Keep in mind that the texture and sweetness might vary slightly.
6. Can I add other ingredients to my marshmallows?
Absolutely! Get creative and customize your marshmallows to your liking. You can add a pinch of salt to enhance the flavor, a few drops of your favorite essential oil for a unique aroma, or even sprinkle in some chopped nuts or chocolate chips for an extra treat.
7. My marshmallows didn’t set properly. What went wrong?
There could be a few reasons for this. Make sure you’re using enough gelatin and that your allulose syrup is hot enough. It’s also important to whip the mixture until stiff peaks form. If you’re still having trouble, check out the troubleshooting tips in the recipe notes or online.
I hope this Q&A session has cleared up any lingering questions you might have. Remember, don’t be afraid to experiment and have fun in the kitchen! With a little practice and these helpful tips, you’ll be a sugar-free marshmallow pro in no time.
The Sweet Conclusion (Without the Sugar!)
Well, my fellow marshmallow enthusiasts, we’ve reached the end of our sugar-free marshmallow journey. I hope you’re feeling inspired and ready to whip up a batch of these pillowy delights! Remember, just because you’re cutting back on sugar doesn’t mean you have to sacrifice your favorite treats.
These sugar-free marshmallows are proof that you can have your cake and eat it too (or in this case, your marshmallow). They’re fluffy, delicious, and surprisingly easy to make. Plus, they’re customizable, so you can let your creativity run wild and create unique flavors that are all your own.
Whether you’re enjoying them in a cup of hot cocoa, roasting them over a campfire, or simply popping them in your mouth for a sweet snack, these marshmallows are sure to bring a smile to your face. And the best part? You can indulge guilt-free, knowing that you’re making a healthier choice.
So, what are you waiting for? Gather your ingredients, fire up that mixer, and let the marshmallow magic begin! And don’t forget to share your creations with me – I’d love to see what delicious concoctions you come up with. Happy marshmallow making!
Sugar Free Marshmallows
Ingredients
- 2 cups water (divided)
- 1/3 cup powdered gelatin
- 2/3 cup allulose
- 2 teaspoons vanilla extract
Instructions
- Line an 8 x 8-inch pan with parchment paper and set aside.
- In a small bowl, add half of the water and sprinkle the gelatin powder on top. Let it sit for 10 minutes to soak up some liquid and become slightly gooey.
- In a small saucepan, bring the remaining water and sweetener to a simmer over medium heat. Stir regularly until it begins to boil. Let it boil for several minutes, then remove from the heat.
- Add the gelatin mixture to the bowl of a stand mixer. On low speed, turn the mixer on and mix for 30 seconds. Slowly add the boiling water/sweetener mixture along with the vanilla extract, and beat for 10-12 minutes, or until stiff peaks form.
- Transfer the marshmallow mixture into the lined pan and use a rubber spatula to smooth it out as much as possible. Refrigerate for at least 2 hours or until set.
- Once set, use a slightly wet knife to cut pieces. Dust with keto powdered sugar and enjoy.
Notes
- If you don’t have a stand mixer, a hand mixer can be used.
- I like to dust some keto powdered sugar on top.
- Serving: 1 serving
- Calories: 12 kcal
- Carbohydrates: 1g
- Protein: 3g
- Fat: 1g
- Sodium: 7mg
- Potassium: 1mg
- Calcium: 2mg
- Iron: 1mg
- Net Carbs: 1g
 This post may contain affiliate links.
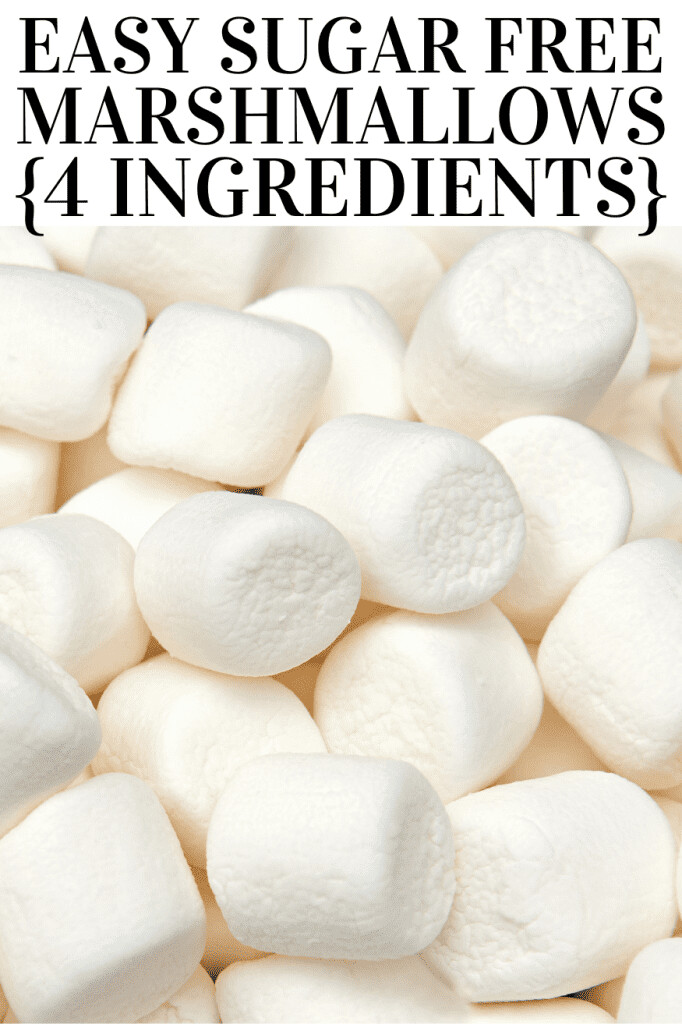
- Save for Later1.8K


