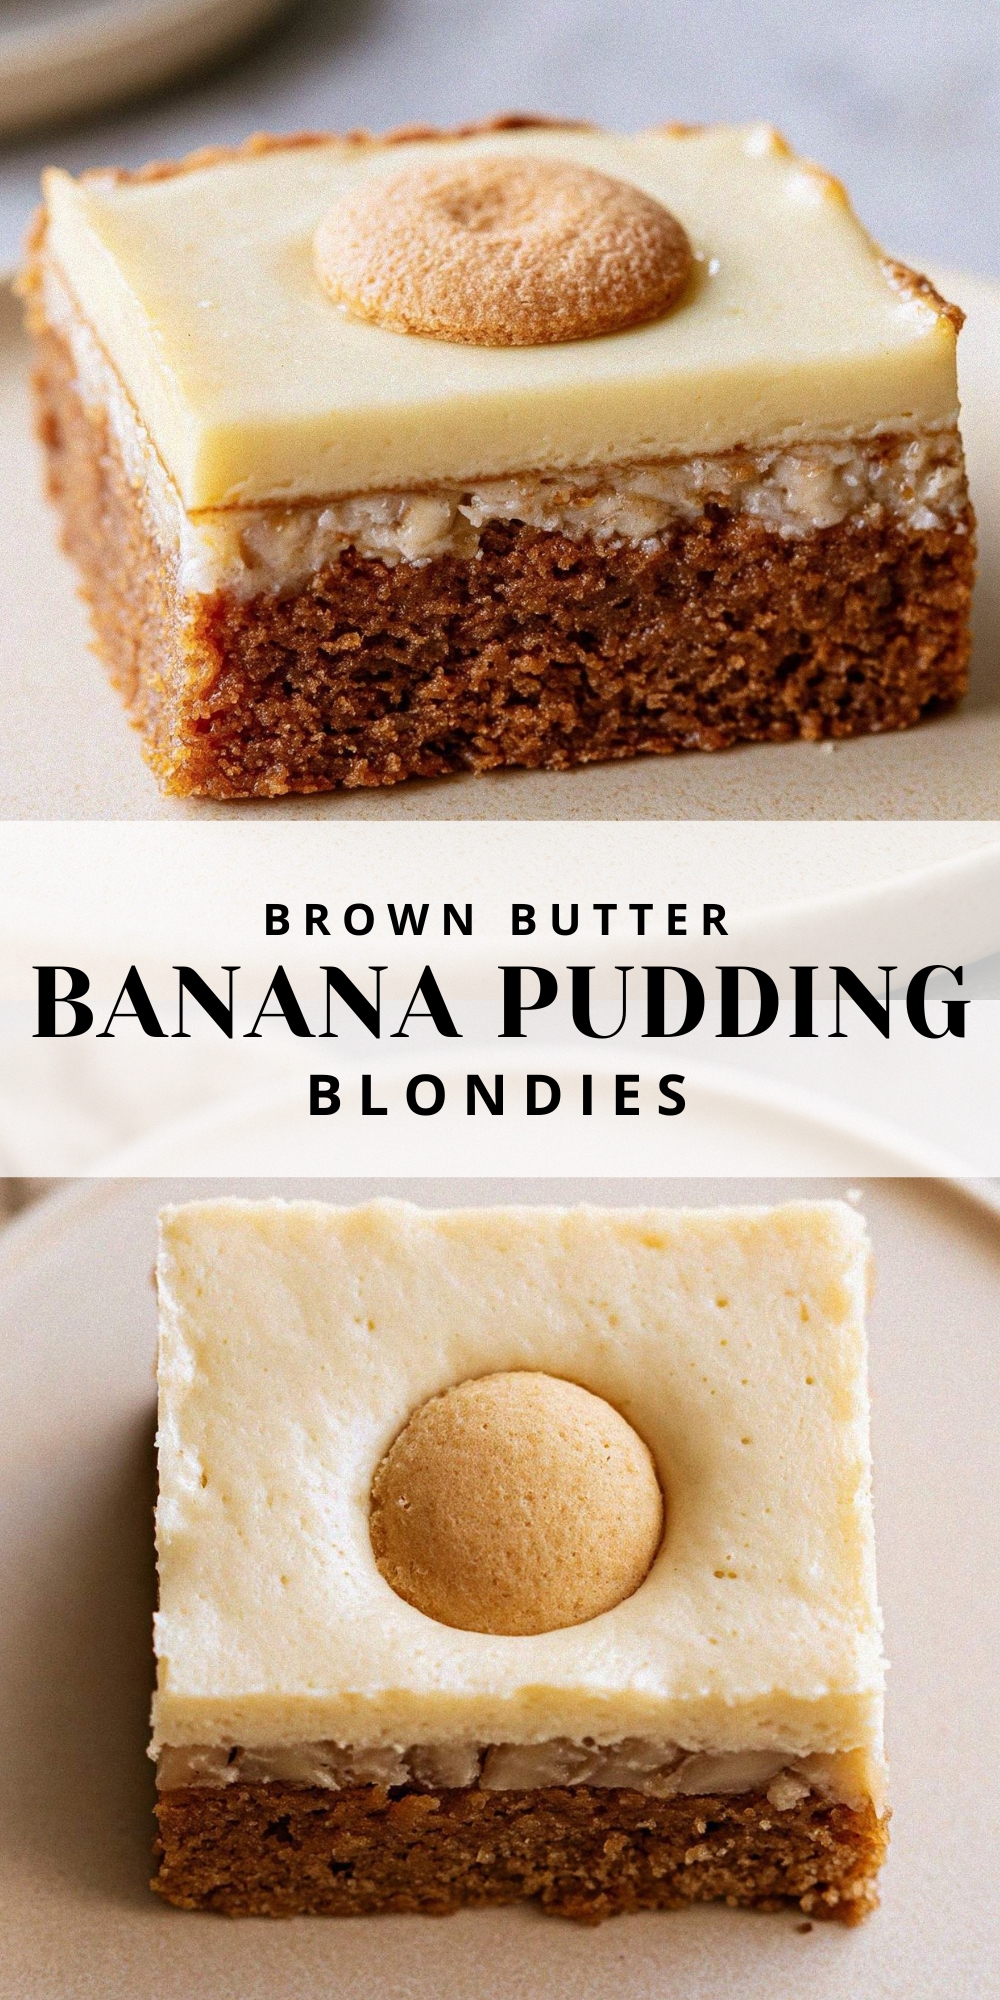
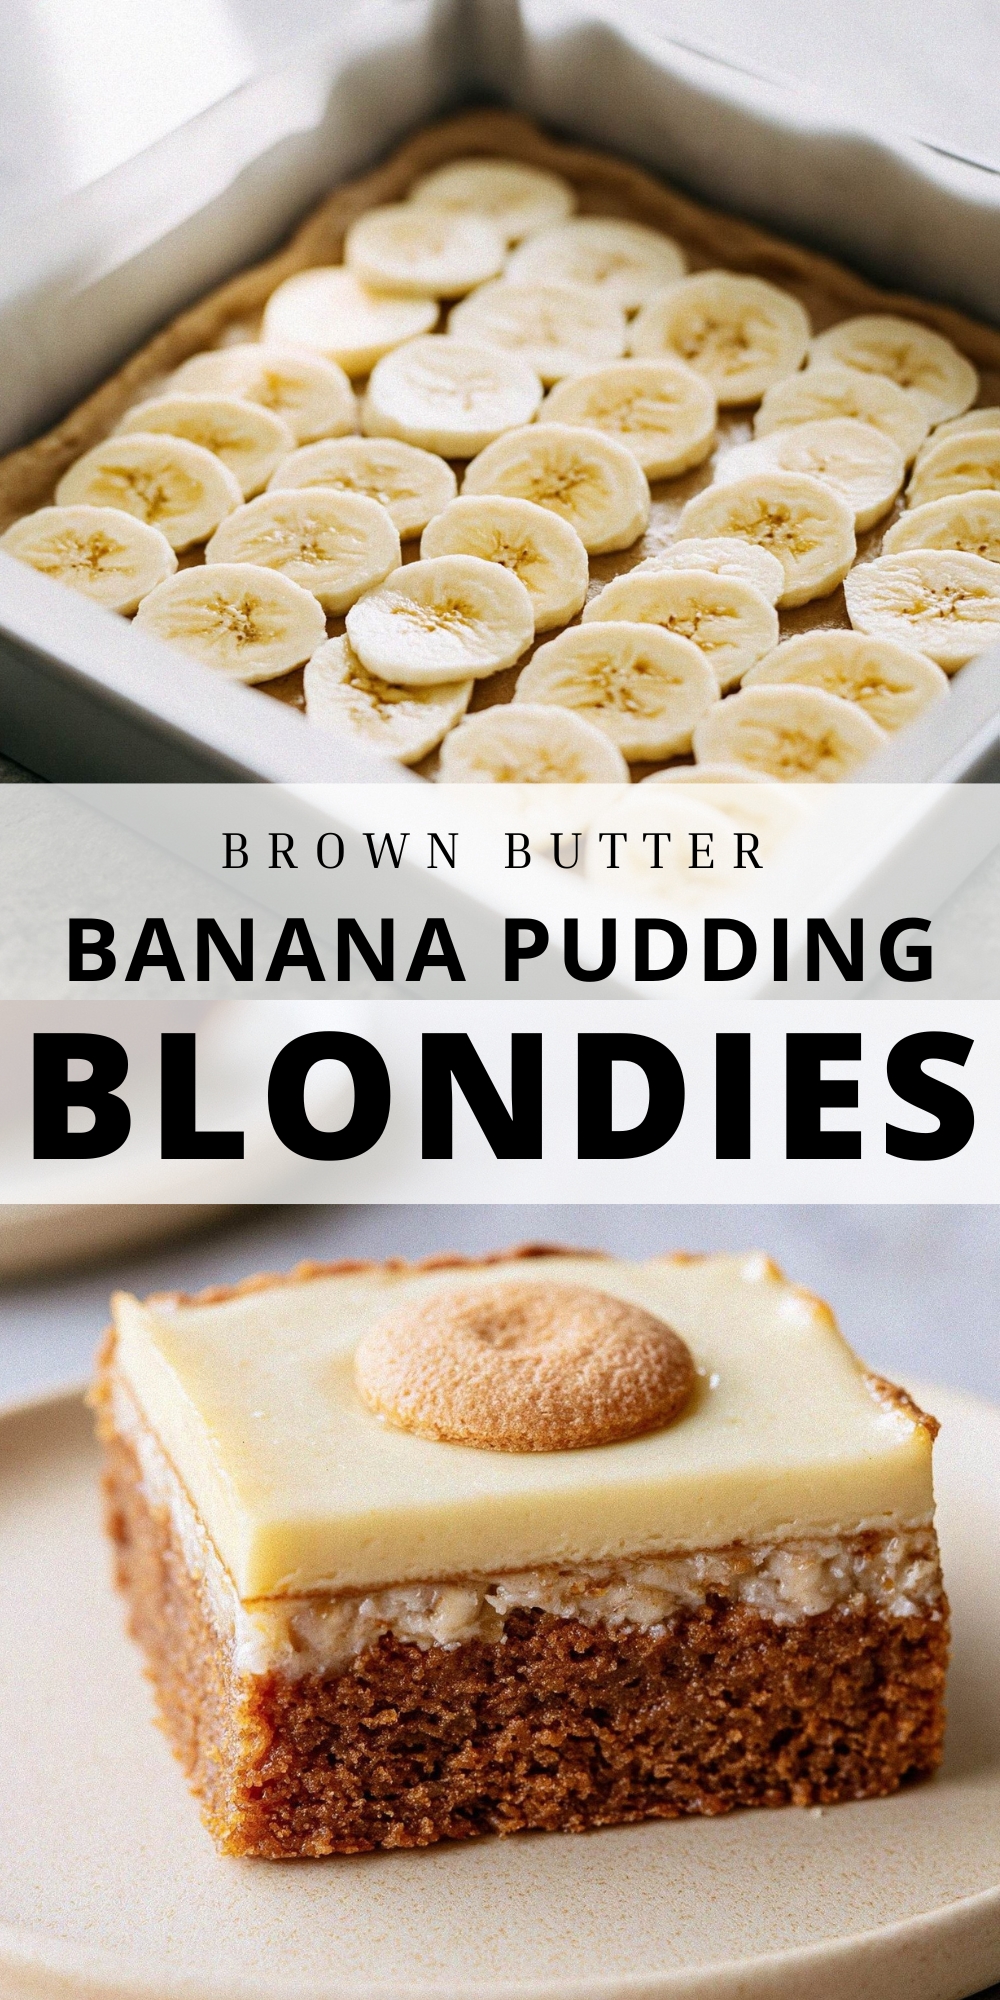
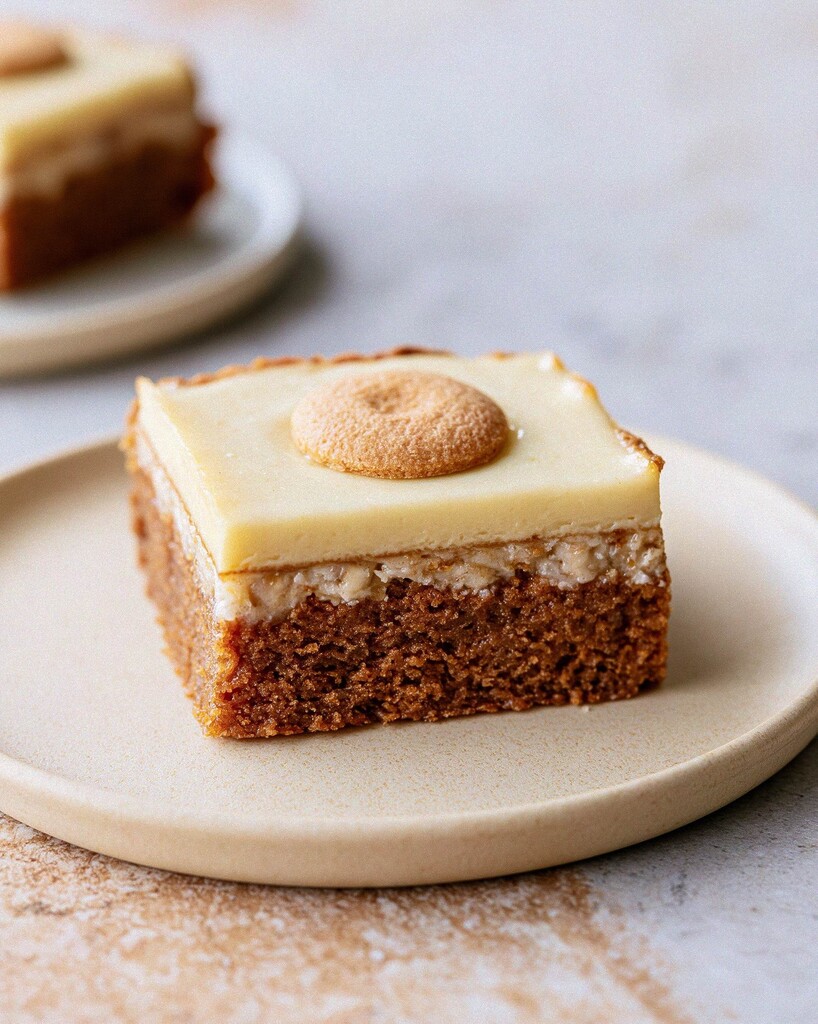
These browned butter banana pudding blondies rescue a classic flavor from the usual sloppy dessert bowl. A dense, chewy dark brown sugar base anchors a tangy baked custard and a hidden layer of freshly sliced bananas.
 This post may contain affiliate links.
Why the Blondie Base Works
Boxed pudding mixes lean intensely artificial. A standard graham cracker crust simply cannot balance them out. By anchoring these bars with a deeply nutty browned butter base, the dessert finds its necessary contrast.
- Reducing the flour slightly prevents the edges from drying out during the long second bake.
- Par-baking the blondie gives it exactly enough structure to hold the heavy wet topping.
- Adding full-fat cream cheese transforms the instant mix into a dense, cheesecake-like custard that slices beautifully.
Key Custard Ingredients
Bananas: Use a medium, ripe banana with just a few brown freckles. You must slice it thinly. Thick slices create unstable pockets that prevent the heavy custard layer from setting flush against the base, making clean cuts impossible. Overly ripe bananas will break down completely in the oven heat and turn the center of your blondies into a watery mess.
Instant pudding mix: Grab the standard 3.4-ounce box. Make sure the label says instant. The cook-and-serve varieties use a different starch base and will ruin the texture of the topping.
Cream cheese: Buy the full-fat block. Skip the spreadable tubs. Tub cream cheese contains too much air and water, which prevents the heavy custard layer from setting properly in the oven.
Building the Pudding Layers
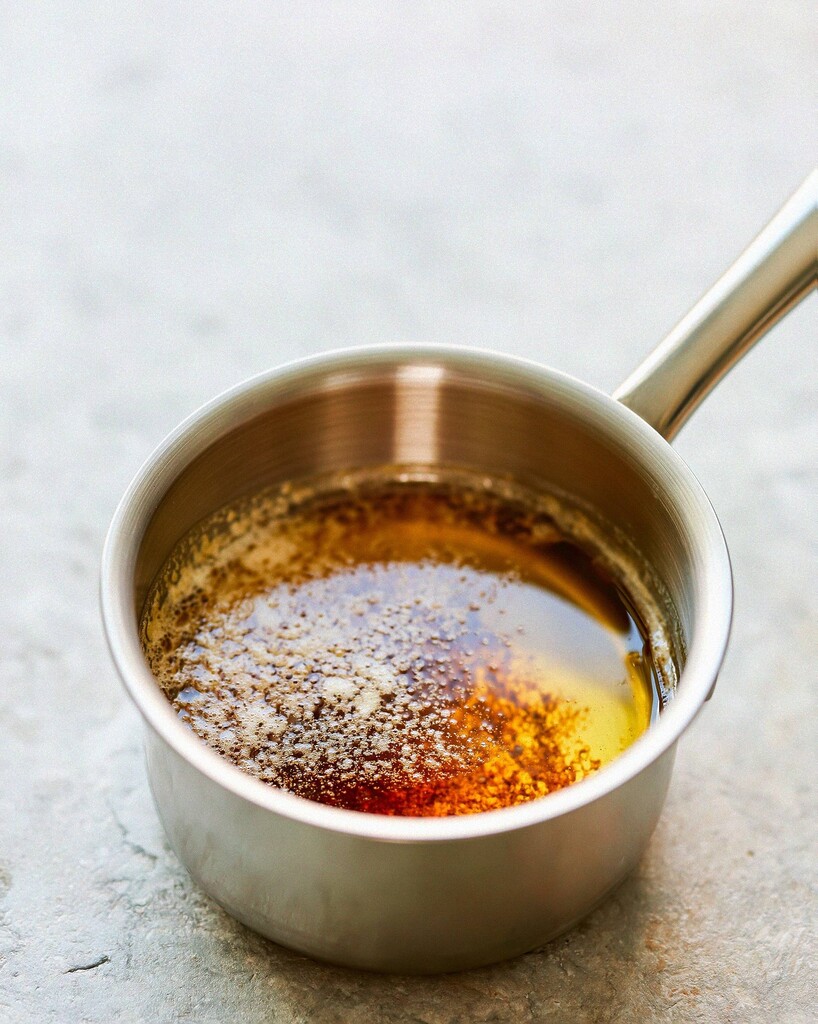
Brown the butter: Melt the butter in a skillet over medium heat. Watch for the foaming to subside. Once you see amber flecks at the bottom and smell toasted nuts, immediately pour the butter into a heatproof bowl so the residual pan heat doesn’t scorch the milk solids into bitter ash.
Mix and par-bake: Whisk the dark brown sugar into the slightly cooled butter until combined. Add the eggs and vanilla, whisking vigorously until the mixture becomes smooth and slightly glossy. Switch to a rubber spatula and fold in the dry ingredients just until no dry streaks remain. Spread the thick batter into your lined 9×9-inch pan and bake for exactly 15 minutes at 350°F.
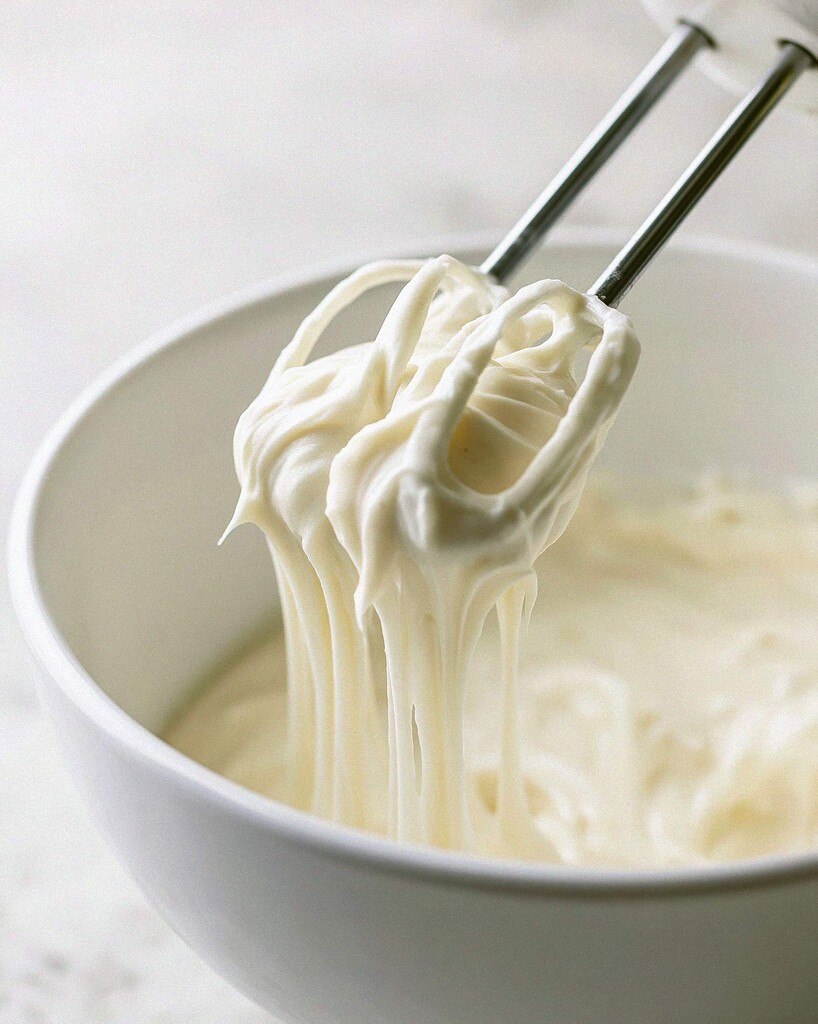
Whip the topping: Beat the softened cream cheese with a hand mixer. Make it completely smooth. If you add the cold heavy cream and eggs while the cheese is still lumpy, those tiny white specks will never bake out of the finished custard.
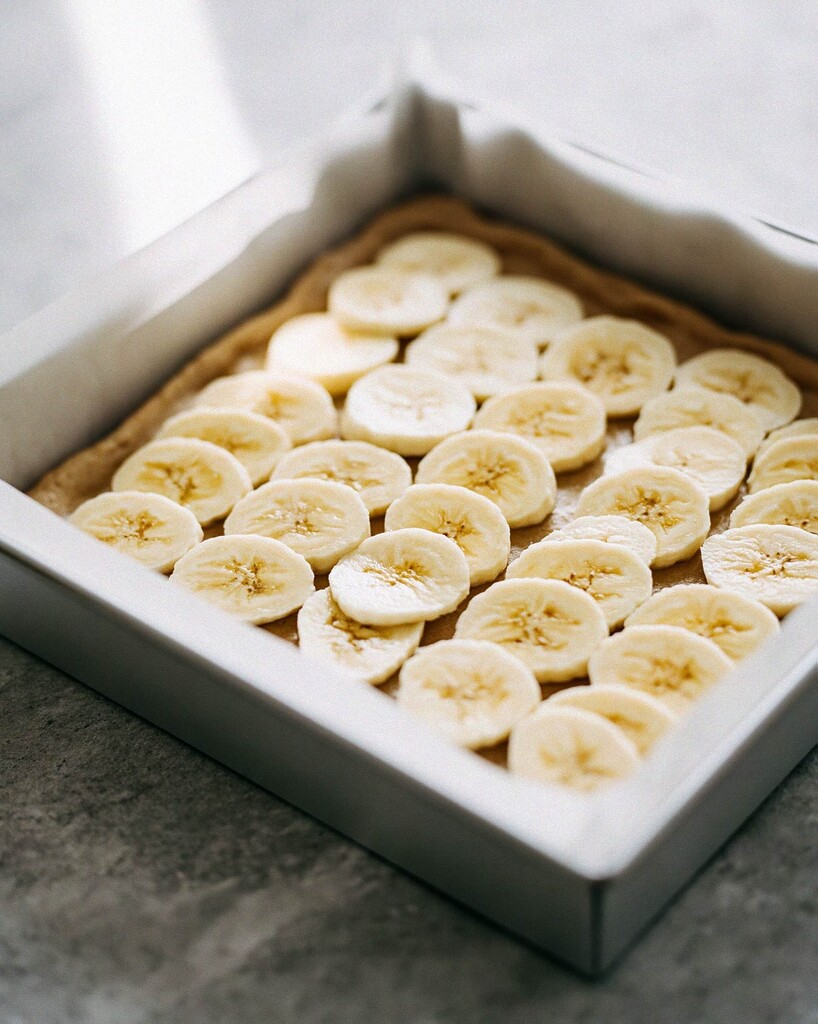
Arrange the fruit: Pull the par-baked base from the oven. Leave the heat on. Lay the thinly sliced bananas across the warm surface immediately, as the residual heat from the crust slightly softens the fruit and binds it to the batter before the pudding goes on.
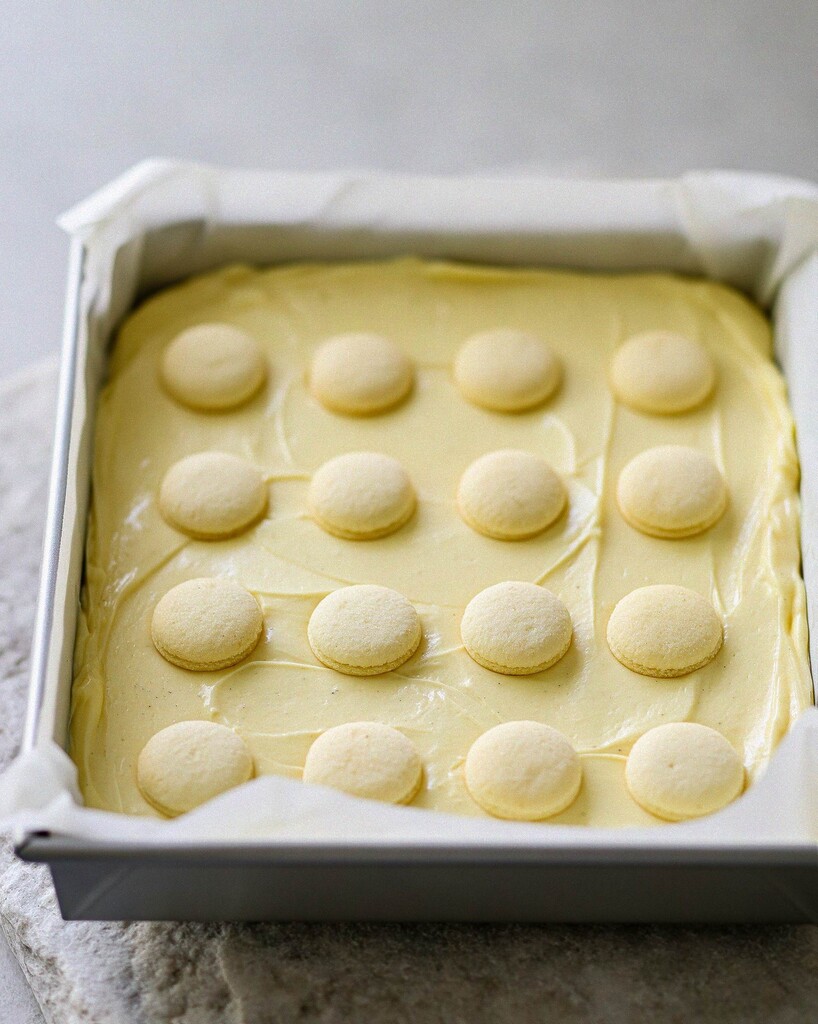
Finish and bake: Dollop the cream cheese mixture over the bananas and spread it gently to the edges. Press the vanilla wafers lightly into the top in a neat grid, then return the pan to the oven for 18 to 22 minutes.
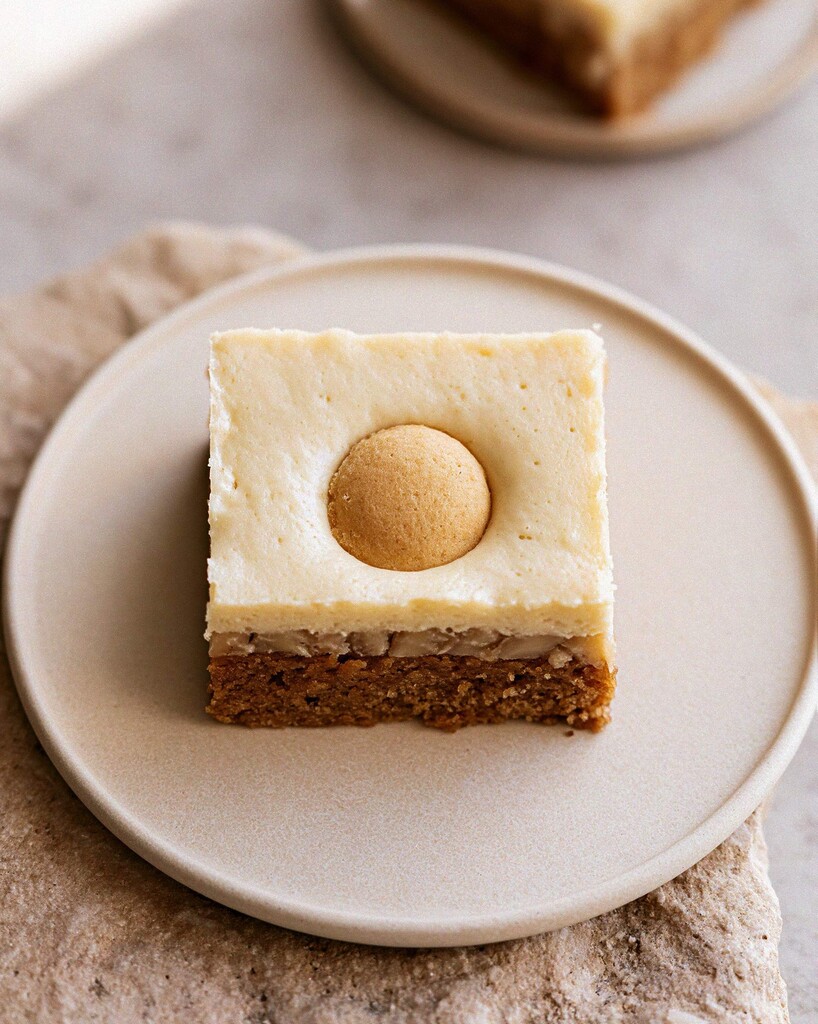
Let the wafer grid guide your knife:
Pull the pan when the edges are faintly golden. Check the center. It should only have a very slight jiggle when you shake the pan; if it still looks wet, the middle will collapse as it cools.
Cutting the Chilled Bars
Patience is the only way to get sharp edges on a baked custard.
The Mandatory Chill
- Cool the pan on a wire rack at room temperature for one hour.
- Transfer the pan to the refrigerator for a minimum of two hours to fully set the cream cheese layer.
- Wipe a large, sharp knife clean with a damp paper towel between every single cut to keep the brown crumbs off the yellow pudding.
Banana Pudding Blondie FAQs
How long do these blondies keep?
Store leftovers tightly covered in the refrigerator for up to 3 days. The vanilla wafers will soften after the first night, but the custard and blondie base retain their texture perfectly.
Can I use whole milk instead of heavy cream?
Whole milk works perfectly fine here. Skim milk lacks the necessary fat and will make the custard layer slightly looser and less rich.
Why did my vanilla wafers get completely soggy right away?
You likely covered the pan before it was completely cold. Condensation trapped under foil or plastic wrap drops moisture right back onto the cookies, destroying their crunch.
Browned Butter Banana Pudding Blondies
By swapping a standard base for a nutty browned butter blondie, this version cuts the artificial sweetness of boxed pudding and adds a gorgeous caramel depth. A hidden layer of freshly sliced bananas bridges the fudgy brown-sugar bottom and the creamy, cheesecake-like pudding topping, finishing with that iconic vanilla wafer crown.
- Total Time3 hours 55 minutes
- Yield16 bars (serves 16) 1x
Ingredients
Browned Butter Blondie Base
- ¾ cup unsalted butter (1½ sticks / 170g)
- 1 cup dark brown sugar, packed (213g)
- 2 large eggs, room temperature
- 2 teaspoons vanilla extract
- 1¼ cups all-purpose flour (150g)
- ½ teaspoon baking powder
- ½ teaspoon kosher salt
Banana Layer
- 1 medium ripe banana, thinly sliced
Banana Pudding Cream Layer
- 8 ounces full-fat cream cheese, softened to room temperature (226g block)
- 1 box (3.4 ounces / 96g) instant banana cream pudding mix (dry mix only)
- ⅓ cup heavy cream or whole milk
- 2 large eggs, room temperature
- 1 teaspoon vanilla extract
Garnish
- 16 to 20 vanilla wafer cookies (such as Nilla Wafers)
Instructions
- Prep the pan and oven: Preheat your oven to 350°F (175°C). Line a 9×9-inch baking pan with parchment paper, leaving an overhang on two sides to act as a sling. Set aside.
- Brown the butter: In a medium saucepan or skillet, melt the butter over medium heat. Continue cooking, swirling the pan occasionally, for about 5 to 7 minutes. The butter will foam, subside, and then form golden-brown flecks at the bottom while smelling like toasted nuts. Immediately pour the browned butter (scraping all the toasted bits with it) into a large heatproof mixing bowl. Let it cool for 10 minutes.
- Mix the blondie batter: Whisk the dark brown sugar into the slightly cooled browned butter until combined. Add the 2 base eggs and 2 teaspoons of vanilla extract, whisking vigorously until the mixture becomes smooth and slightly glossy. Switch to a rubber spatula and fold in the flour, baking powder, and kosher salt just until no dry streaks remain.
- Par-bake the base: Spread the thick blondie batter evenly into the prepared baking pan. Bake for 15 minutes. (Par-baking ensures the base is just set enough to hold the topping, but prevents the edges from drying out during the second bake).
- Mix the pudding layer: While the base bakes, use a hand mixer on medium speed to beat the softened cream cheese in a separate bowl until perfectly smooth and creamy. Add the dry instant pudding mix, heavy cream, the remaining 2 eggs, and the remaining 1 teaspoon of vanilla extract. Beat for 1 to 2 minutes until completely uniform and thick.
- Assemble the layers: Remove the par-baked blondie base from the oven (leave the oven on). Immediately arrange the thinly sliced fresh bananas in an even layer over the warm surface. Gently drop dollops of the cream cheese pudding mixture over the bananas, then use an offset spatula to spread it gently to the edges.
- Add the wafers and finish baking: Press the vanilla wafers lightly into the top of the pudding layer in a neat grid (4 rows of 4 or 5 cookies). Return the pan to the oven and bake for an additional 18 to 22 minutes, or until the edges are lightly golden and the center jiggles only very slightly when the pan is gently shaken.
- Cool and chill: Transfer the pan to a wire rack and let it cool completely at room temperature for about 1 hour. For clean slices and the best “banana pudding” texture, transfer the pan to the refrigerator to chill for at least 2 hours before lifting the parchment sling and cutting into squares.
Notes
- Why it works: Reducing the flour slightly and par-baking the blondie base for just 15 minutes solves the common problem of dry, overbaked edges. The fresh banana layer tucked underneath the cream cheese topping provides authentic fruit flavor that instant pudding alone can’t achieve.
- Slicing tip: Because the topping has a baked-custard texture similar to cheesecake, chilling is mandatory for neat squares. Wipe a large, sharp knife clean with a damp paper towel between each cut.
Nutrition (per serving — estimates)
Calories: 295 | Total Carbs: 31g (Fiber: 1g, Sugar: 20g) | Fat: 17g (Saturated: 10g) | Protein: 4g
Nutritional values are approximate, based on standard reference data (USDA FoodData Central). Actual values vary by brand and exact measurements. For precision, use a tracker like MyFitnessPal or Cronometer.
- Prep Time: 20 minutes
- Chilling Time: 3 hours (includes room temp cooling)
- Cook Time: 35 minutes
- Category: Dessert
- Method: Baking
- Cuisine: American
Nutrition
- Serving Size: 1 bar
- Calories: 295
- Sugar: 20g
- Fat: 17g
- Saturated Fat: 10g
- Carbohydrates: 31g
- Fiber: 1g
- Protein: 4g
I share these nutrition estimates to help you plan your meals, but I am a home cook and not a medical professional. Please always run these numbers by your doctor if you are managing specific health or dietary goals.